How to Install Expeditions Mods
Ensure you avoid overloading on mods! It’s likely that you might install a mod that overlaps with the files of another, resulting in altered functionalities than what you initially anticipated.
Always make it a point to understand the purpose and function of a mod before adding it!
What We Need
Ensure you create backups of your game files prior to making any modifications. This way, if any issues arise, you can swiftly restore the game using these backups.
Before beginning the manual installation of mods, it’s essential to install a specific program:
The most recent version of WinRAR.
WinRAR is available for free at: https://www.win-rar.com/download.html?&L=0
Employing WinRAR simplifies the process significantly, as it natively supports opening the file type we’ll be working with!
Avoid using 7zip or similar programs. They do not handle *.pak files effectively and could cause damage to your game!
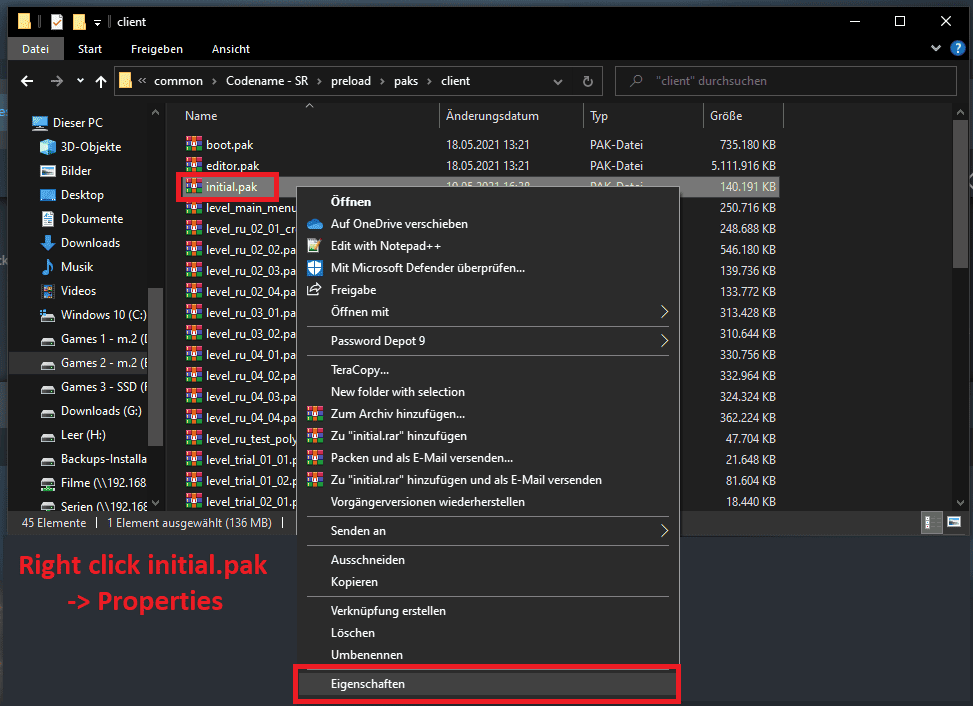
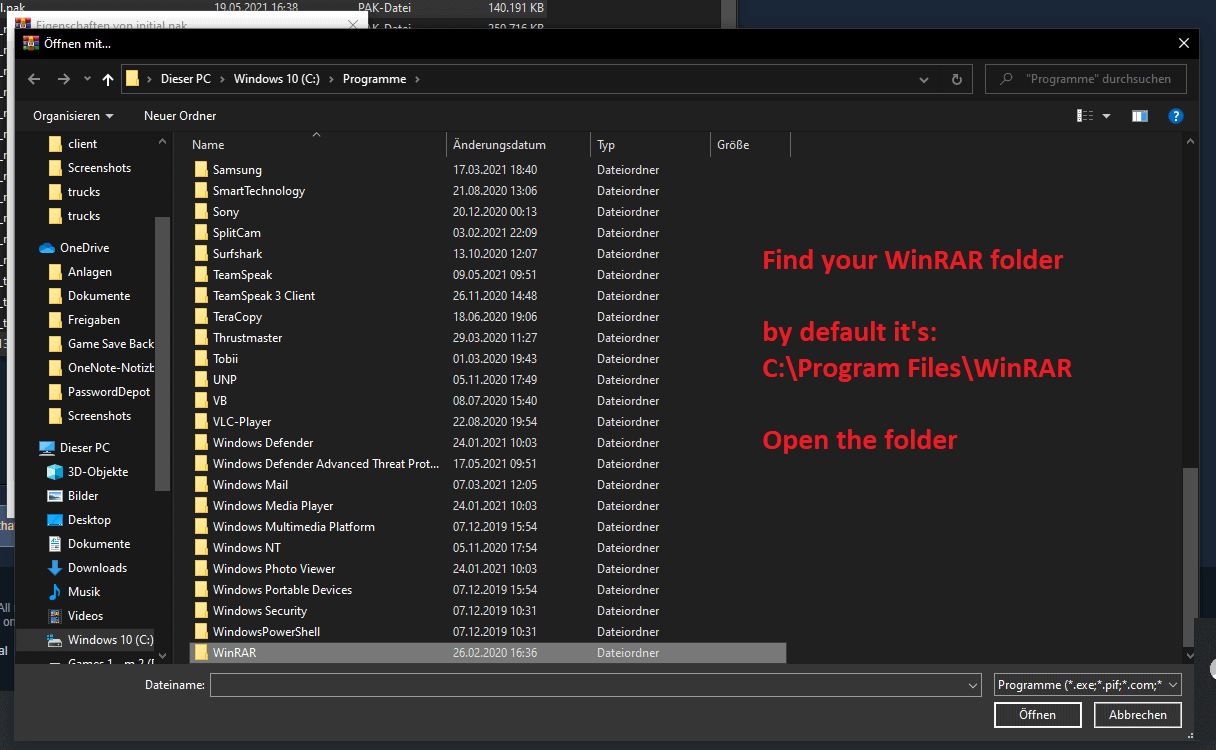
Finding the correct path and using WinRAR
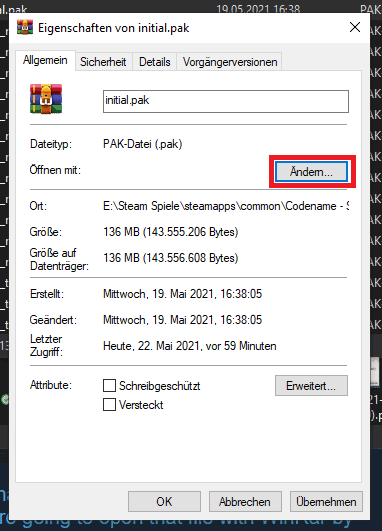
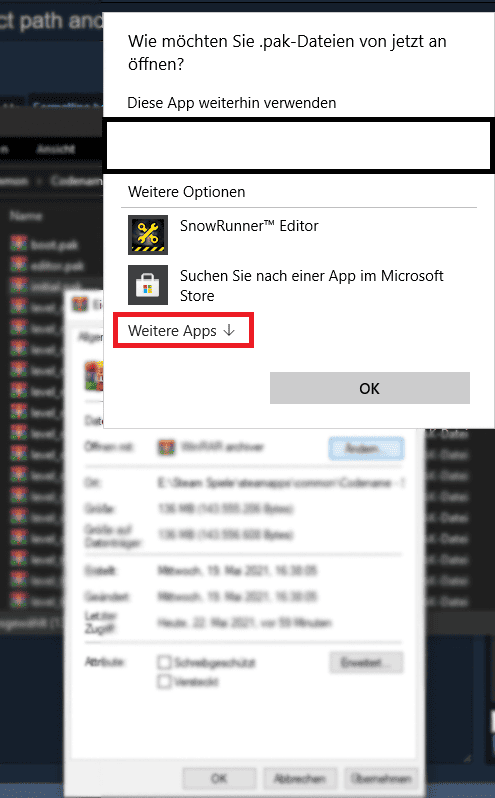
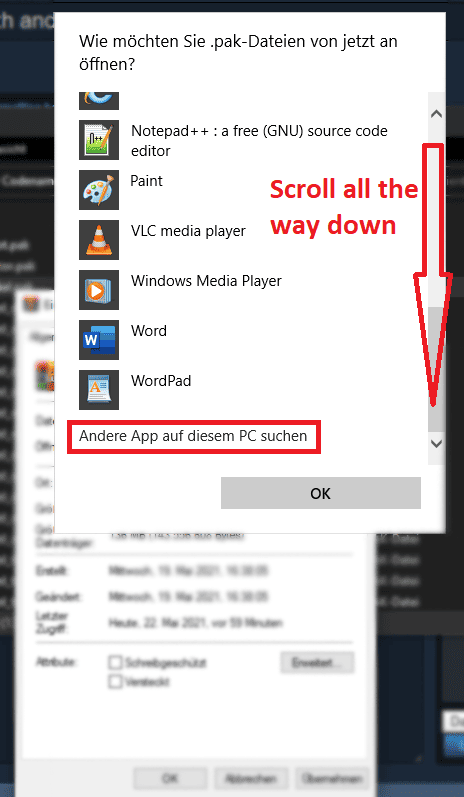
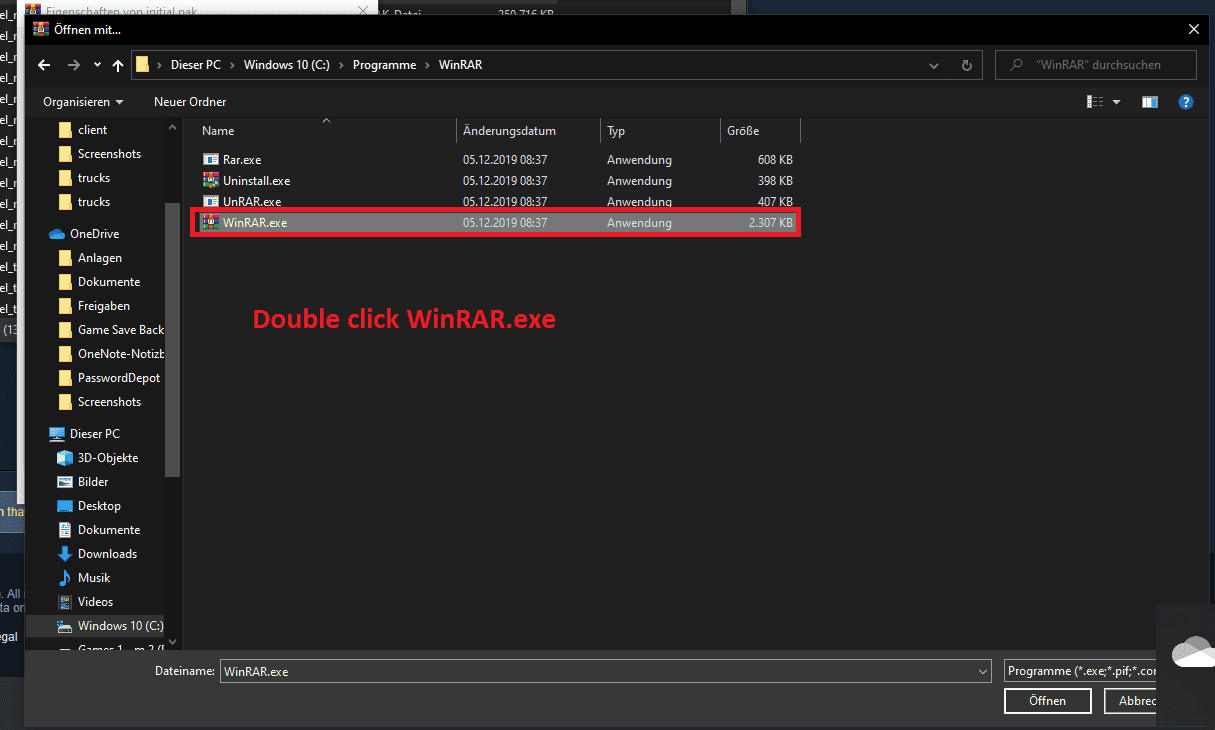
Opening *.pak files with WinRAR

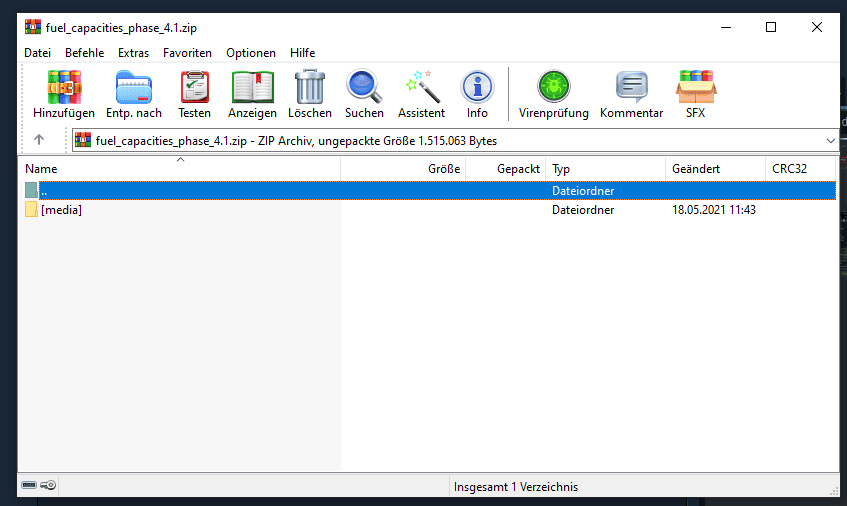
Installing the Mod
Locate the mod you wish to install and use WinRAR to open its zip file. It will likely appear similar to what you’d see with the realistic fuel capacities mod, for example:
Additionally, use WinRAR to open the initial.pak file. Then, drag and drop the mod files into the initial.pak as shown in the image:
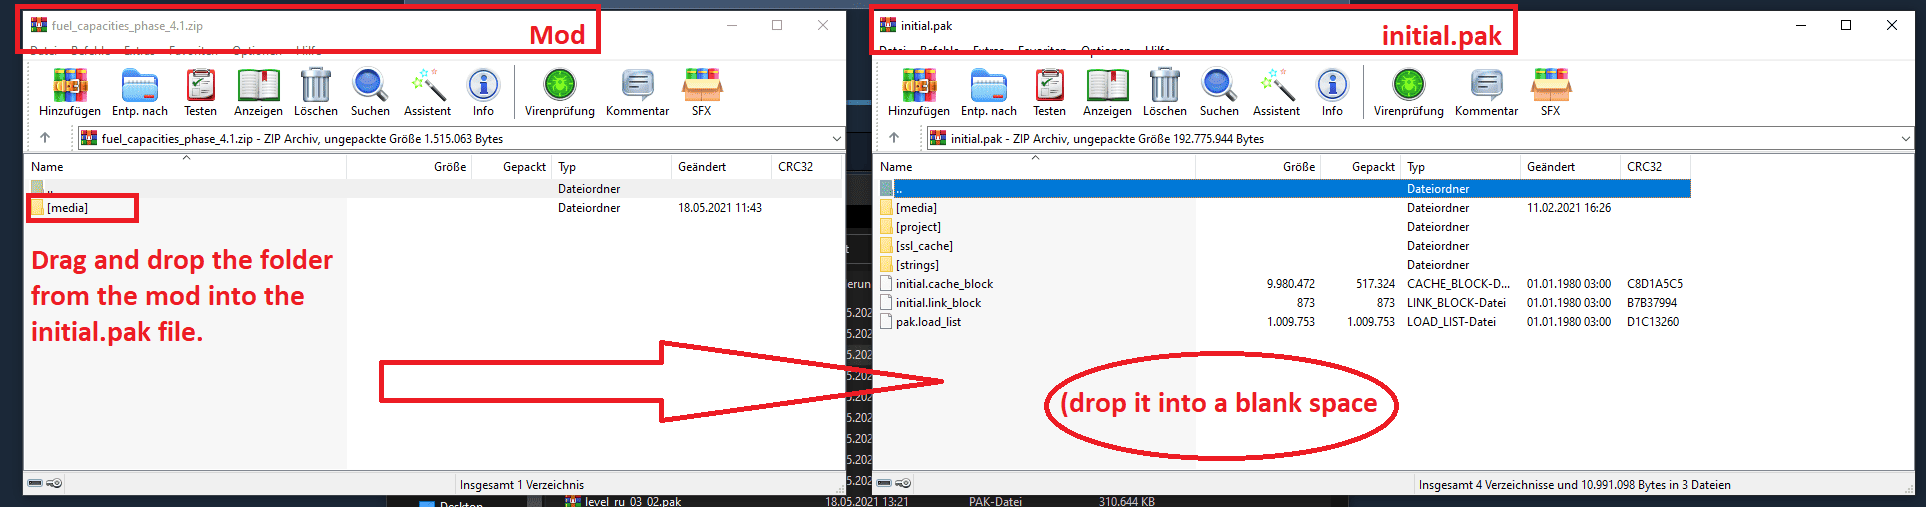
When prompted on how to incorporate the files, select the add and replace option in WinRar and click okay!
There you have it! You’ve successfully installed a mod. You can now close all open windows and test the mod in-game. If it works, you’ve done everything correctly!
Method 2 Installation Guide:
Make sure, you have the latest version of WinRAR installed! Other software will cause issues! Always make sure you backup your files before editing!
Manual installation for STEAM:
– Use latest version of WinRAR! WinRAR supports *.pak files by default -> No support if you use other software. (Download WinRAR for free: https://www.win-rar.com/)
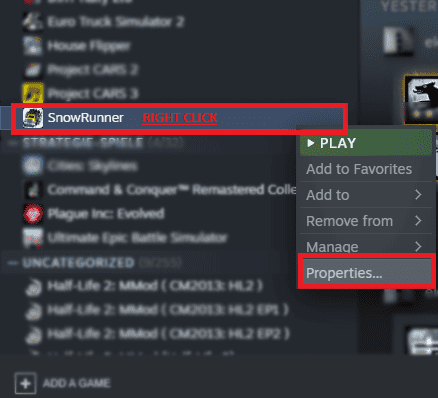
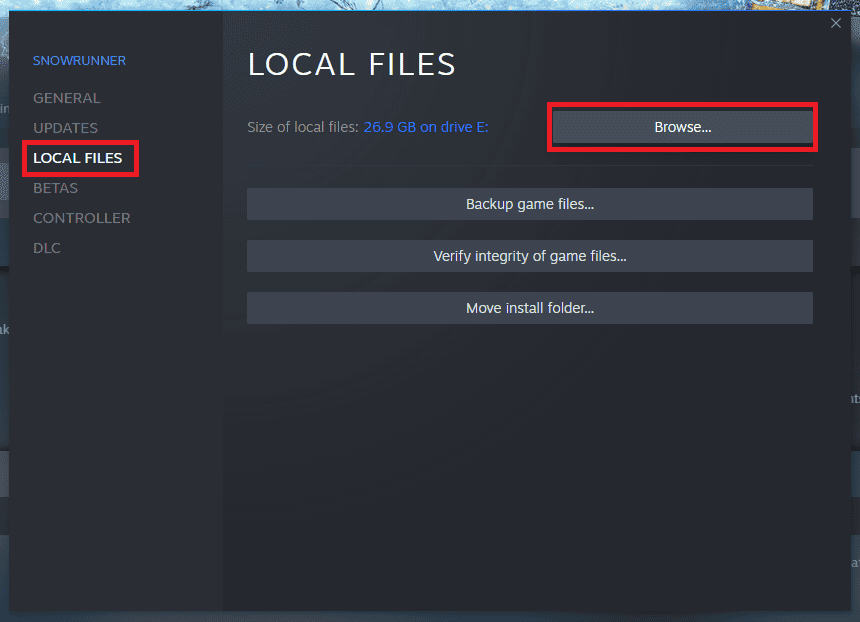
– Find the path you installed Expeditions to. Open Steam -> right-click Expeditions -> Properties -> Local Files -> Browse
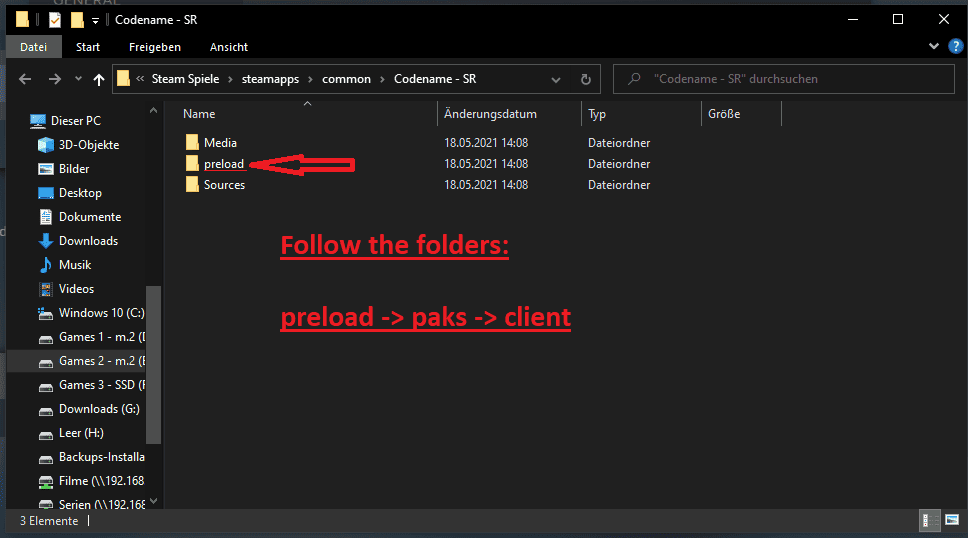
– Follow the folders: \preload\paks\client
– Backup, then open the file ‘initial.pak’ with WinRAR.
– Open the downloaded mod-file with WinRAR, as well.
– Drag and drop the ‘[media]’ folder from the downloaded mod-file into your initial.pak
– Done!
I also uploaded a complete initial.pak file. With this, you can simply exchange the original initial.pak. For players who want it even easier!
If you’ve followed our guidelines for installing Expeditions: A MudRunner Game mods, you’ll find the process straightforward. Investing time to understand mods is truly worthwhile, as they offer invaluable enhancements to your game.
Therefore, it’s crucial to carefully review the steps for installing a Expeditions mod – the more diligent you are, the quicker you’ll master this method of enhancing your gaming experience. A vast array of mods awaits you, all available at no cost, allowing you to introduce any feature you desire. The mod selection is vast and continuously expanding, with new files released daily – rest assured, you’ll frequently apply your knowledge of How to install Expeditions: A MudRunner Game mods. The possibilities are endless, enabling you to tailor the game to your vision and continuously improve it in numerous ways.
Keep abreast of the latest developments by engaging with the community and contributing. The insights from fellow enthusiasts are incredibly valuable. With the knowledge of how to install Expeditions mods, you’ll face no barriers in integrating the latest mods and collaborating with others. Dive into the game and customize it to meet your unique preferences.


 (15 votes, average: 2.60 out of 5)